- James Wassinger
- Posts
- ⚙️ Automating Azure Infrastructure Deployments with PowerShell and GitHub Actions
⚙️ Automating Azure Infrastructure Deployments with PowerShell and GitHub Actions
Empowering Your Azure Deployment: Leveraging PowerShell and GitHub Actions for Infrastructure Deployment
James Wassinger
May 27, 2024

Summary
Write a PowerShell script to create a new Azure resource group and automate its deployment using GitHub Actions.
Prerequisites
GitHub Account (Personal or Professional)
GitHub Repository
Azure Subscription
VSCode
Repository
Create a repository named iac-demo. This repository will hold the PowerShell script and the GitHub Action workflow yaml file.
Entra ID Application Registration
Create an Entra ID Application Registration with Federated credentials.
Create the Entra ID Application Registration.

Select Certificates and secrets from the left-side menu, select Federated credentials, and add credential.
Federated credential scenario: GitHub Actions deploying Azure resources
Organization: Enter your organization name.
Repository: Enter the repository name.
Entity type: For this example select Branch.
GitHub branch name: dev
Credential Details, Name: iac-demo-dev

⚠️ Copy the ClientId and TenantId for later use.
Grant Access
Assign the new Entra ID Application Registration permissions to an Azure subscription using RBAC. Assign the app registration the Owner role.


⚠️ Copy the SubscriptionId for later use.
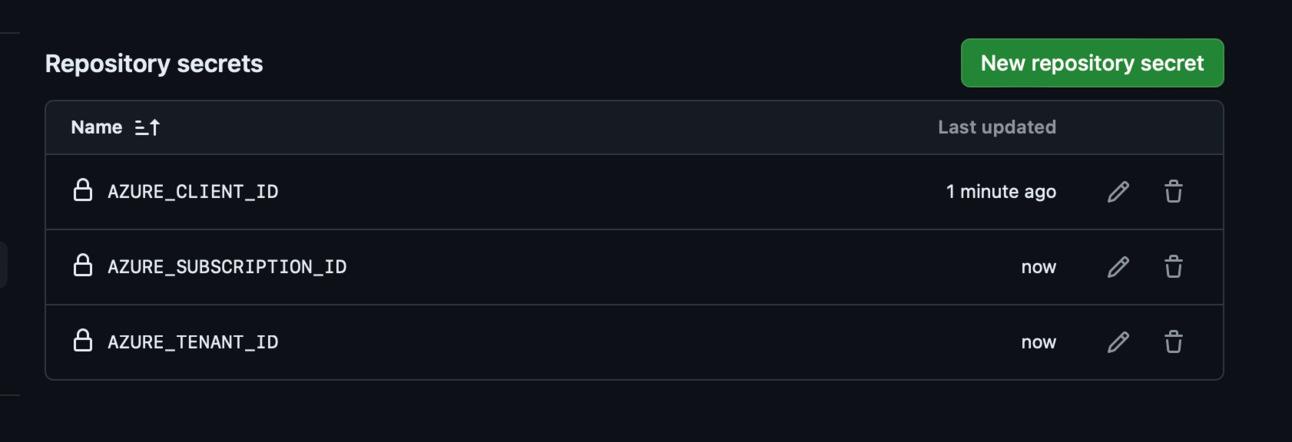
Create GitHub Secrets
Under Repo > Settings > Secrets and variables > Actions, select New repository secret.

AZURE_CLIENT_ID: Enter the copied ClientId of the Application Registration.
AZURE_TENANT_ID: Enter the copied TenantId of the Application Registration.
AZURE_SUBSCRIPTION_ID: Ent the copied SubscriptionId of the Azure Subscription you are using.
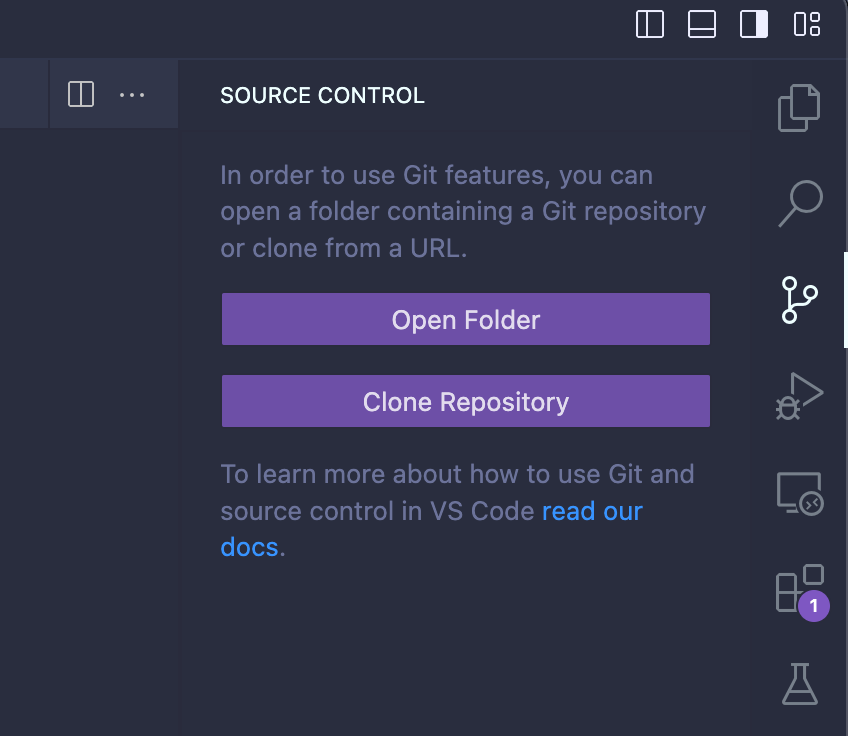
Clone the Repo to VSCode
Select the Source control icon and click on Clone Repository.
Select Clone from GitHub.

Select the repo from the list and click on Open when prompted.
Create a DEV Branch
Using VSCode, create a new branch named dev.

GitHub Action
Create a directory in the repository .github/workflows. In this directory create a file named dev.yml. This YAML file will hold the workflow logic.
name: IaC Demo

on:
  push:
    branches:
      - dev

permissions:
  id-token: write
  contents: read

jobs:
  build-and-deploy:
    runs-on: ubuntu-latest
    #environment: development
    steps:

      # Checkout code
    - uses: actions/checkout@main

      # Log into Azure
    - uses: azure/login@v2
      with:
        client-id: ${{ secrets.AZURE_CLIENT_ID }}
        tenant-id: ${{ secrets.AZURE_TENANT_ID }}
        subscription-id: ${{ secrets.AZURE_SUBSCRIPTION_ID }}
        enable-AzPSSession: true

      # Deploy Azure Resources using PowerShell
    - name: Run Azure PowerShell Script File
      uses: azure/powershell@v2
      with:
        inlineScript: ./deploy.ps1 -SubscriptionId ${{ secrets.AZURE_SUBSCRIPTION_ID }}
        azPSVersion: "latest"
PowerShell Script
Create this simple PowerShell script to deploy a resource group to a subscription and commit this script to the GitHub repository.
[CmdletBinding()]
param (
    [Parameter(Mandatory)]
    [string]
    $SubscriptionId
)

trap [System.Exception] {
    throw "An unexpected issue has occurred! $($_.Exception.Message)"
}

Set-AzContext -SubscriptionId $SubscriptionId

$rgName = "rg-github-acitons-demo"


New-AzResourceGroup -Name $rgName -Location "Central US" -Force
Commit the Changes
Your VSCode struture should look similar to the below screenshot. If it does commit the changes.

Check the Actions
Open GitHub and navigate to the iac-demo repo and select Actions to view the status of the workflow deployment.
If successfull you should see the Workflow status with a green check mark.

Check the Subscription
If successful you should see the new resource group in the subscription you selected.
